Add Hidden Fields: WPForms
WPForms is one of the most popular WordPress form builder plugins known for its simplicity, drag-and-drop UI, and native integration with marketing and CRM tools. This guide covers how to create forms, add hidden fields to track data, connect submissions to a CRM, and embed forms via iFrame.
What is WPForms?
- Pre-built form templates
- Drag-and-drop builder
- Smart conditional logic
- File uploads
- Native marketing/CRM integrations
- Spam protection via CAPTCHA and honeypots
Some features require the Pro version of WPForms.
Where Can WPForms Be Created?
You can create WPForms directly inside your WordPress admin dashboard:
- Go to WPForms → Add New
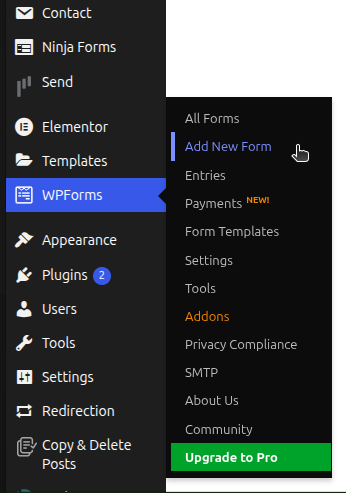
- Choose a form template (e.g., Blank Form)
- Use the drag-and-drop builder to customize your form
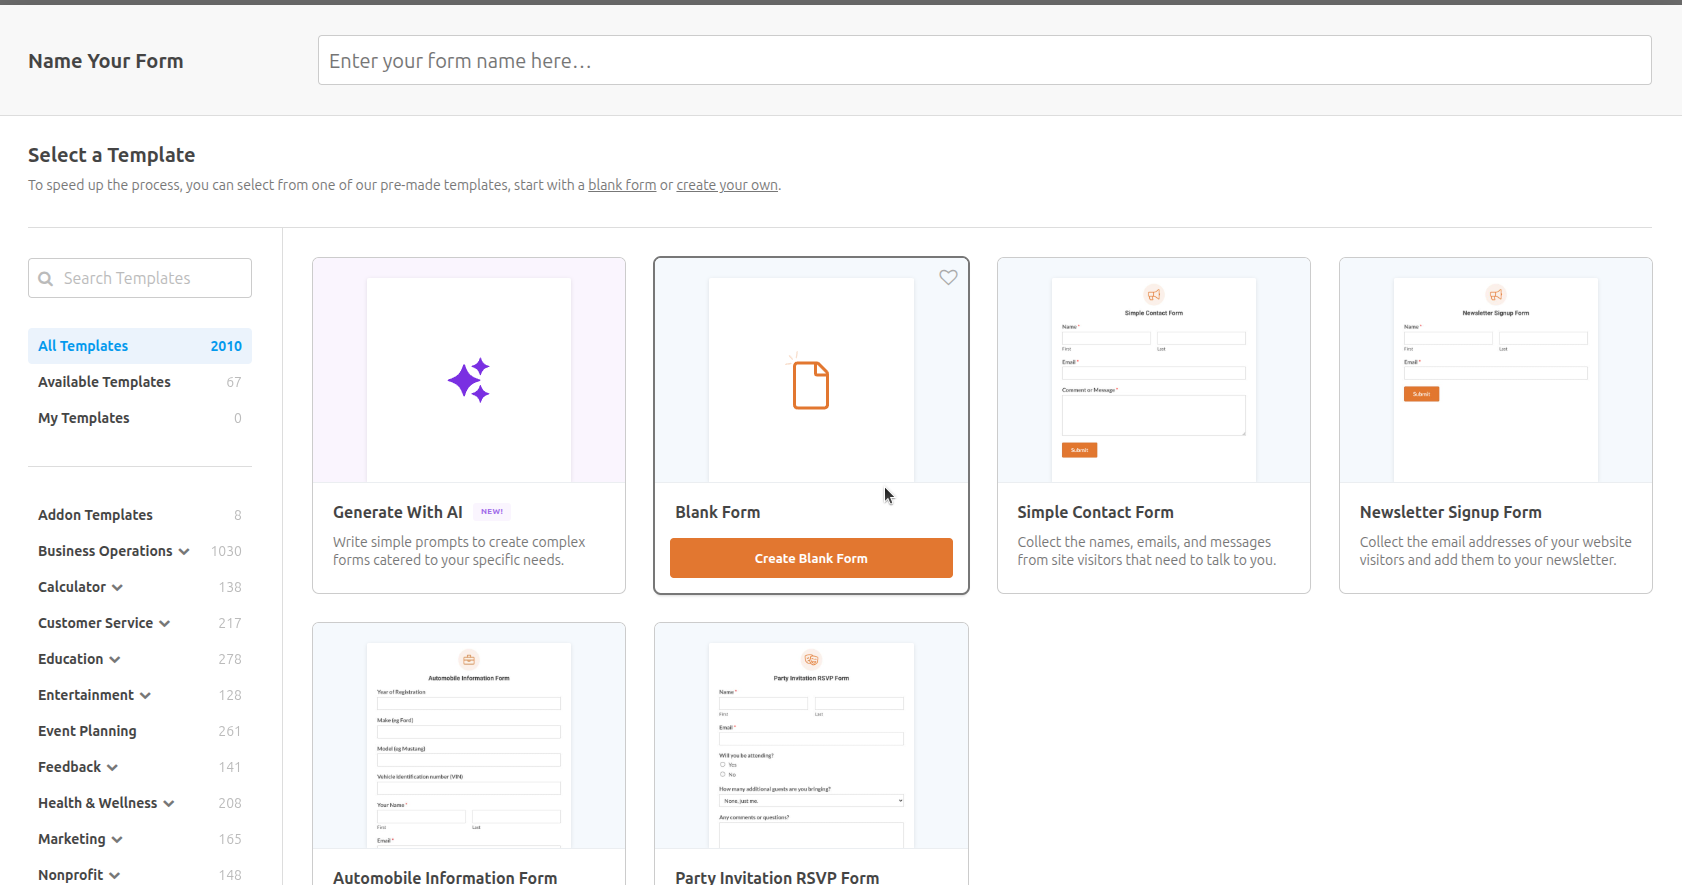
Step 1: How to Create a Form in WPForms
- Navigate to WPForms → Add New
- Enter a name for your form (e.g., “Lead Gen Form”)
- Choose a template or start from scratch
- Drag and drop fields from the left pane (e.g., Name, Email, Dropdown)
- Click on a field to configure it: Label, Placeholder, Required toggle, etc.
- Click Save when done
Step 2: How to Add Hidden Fields in WPForms
Hidden fields help you capture data silently — like UTM parameters, referrer, page URL, or user ID.
Step-by-Step Instructions
- Open the WPForms builder for your form
- Click Add Fields
- Scroll to Fancy Fields
- Drag the Hidden Field into your form
- Click the hidden field to edit it:
- Change the Label (e.g.,
channel) - Click Smart Tags next to Default Value
- Select Query String Variable
- Define Query Field like:
{query_var key="channel"}To track UTM parameters, you can also use Smart Tags like:
{get:channel}Repeat this process for the other tracking fields:
channeldrilldown1channeldrilldown2channeldrilldown3channeldrilldown4landing_pagelanding_page_group
Video: Step-by-step walkthrough
Step 4: Embed Your Form as an iFrame
To embed your form, you need to use an <iframe> tag on your site.
Basic iFrame Example
<iframe
  src="https://form.com/"
  width="100%"
  height="400"
  frameborder="0">
</iframe>
This is the standard way to embed a form using an iFrame.
Enable Attry Tracking
To allow our script to track this iFrame, add the attribute data-attry-iframe:
<iframe
  src="https://form.com/"
  data-attry-iframe
  width="100%"
  height="400"
  frameborder="0">
</iframe>
The data-attry-iframe attribute signals our script to automatically populate and track form data inside the embedded iFrame.
Step 5: CRM Integrations with WPForms
WPForms integrates with several CRMs and email platforms using WPForms Pro or Add-ons.
Popular Integrations
- HubSpot
- Salesforce (via Zapier or Uncanny Automator)
- Mailchimp
- ActiveCampaign
- Constant Contact
How to Integrate
- Go to WPForms → Add-ons.
- Install and activate the relevant CRM or marketing add-on.
- Open your form and go to the Marketing tab.
- Choose your platform and connect your account.
- Map form fields to your CRM fields.
- Save the integration. All future submissions will automatically sync.
Step 6: Add Attry Code To Your Site
How To Add Code To Your Site
Option 1: Using the WP Admin (no code editor)
- Log into WordPress Admin.
- Go to Appearance → Theme File Editor (or Appearance → Editor if block theme).
- Open
header.php. - Paste the Attry script before the closing
</head>tag. - Save changes.
Important
The Attry code shown below is an example only. Your unique snippet must be copied from your Attry Dashboard and added to your site. Do not use the example script verbatim.
Example <head> block
<head>
  <!-- Attry Main Script -->
  <script src="https://cdn.attry.app/cdn/snippet/v1.js"></script>

  <!-- Attry iFrame Adapter -->
  <script src="https://cdn.attry.app/cdn/adapters/iframe-prefill/v1.js"></script>

  <!-- Configure Attry -->
  <script>
    window.Attry.setConfig({
      debug: true, // set to false in production
      iframeTagging: {
        enabled: true,
        paramMap: {
          channel: "channel",
          channeldrilldown1: "channeldrilldown1",
          channeldrilldown2: "channeldrilldown2",
          channeldrilldown3: "channeldrilldown3",
          channeldrilldown4: "channeldrilldown4",
          landing_page: "landing_page",
          landing_page_group: "landing_page_group"
        },
        preserveExisting: false
      }
    });
  </script>
</head>
Option 2: Using a Plugin (recommended for non-coders)
- Install the free plugin Insert Headers and Footers (or WPCode).
- Go to Settings → Insert Headers and Footers.
- Paste the Attry script in the Header section.
- Save changes.
Option 3: Using Page Builders (Elementor, Divi, etc.)
- Edit your page with your builder.
- Go to Page Settings → Custom Code → Header.
- Paste the Attry script.
- Save and publish.