Add Hidden Fields: Wix Forms
This guide explains how to add hidden fields in Wix Forms and connect them with your CRM. Hidden fields are useful for passing information (like UTM parameters, user IDs, or campaign data) from your website into the form without the user seeing or editing them.
Step 1: Add Hidden Fields in Wix Forms
- Log in to your Wix account and select an existing site or create a new one.
- Click on Edit site in the bottom sidebar.
- In the left side of Editor click on layer icon to add Form.
- Select Contact.
- Click or drag the form you want to add.
- Add additional inputs using Add elements from the same left sidebar in the editor.
- Double click on the input to assign Type, Field title and placeholder.
- Enable Dev mode from the top menu of Editor.
- Click on the input you want to hide.
- From the bottom section of the Editor assign unique id to the input — for example,
#channelfor the channel field.
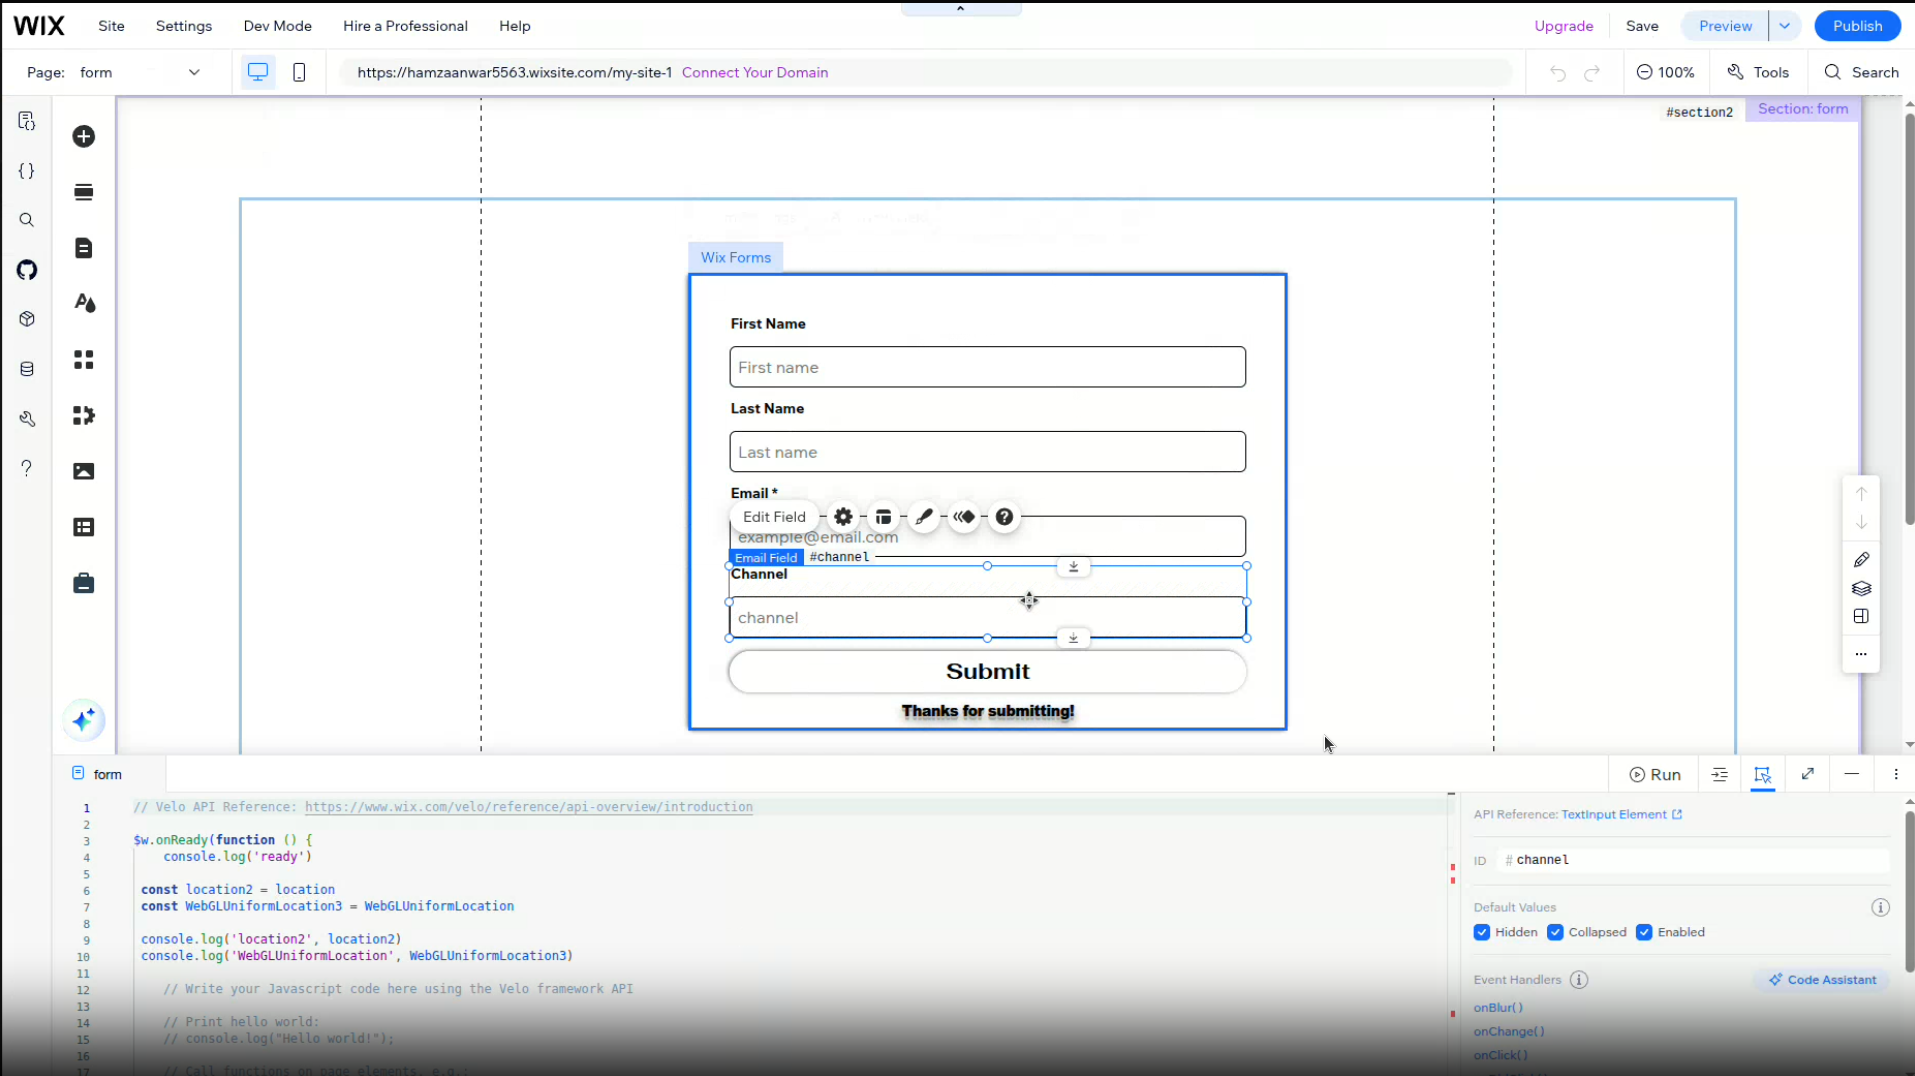
In the bottom section of Editor, check Hidden and Collapsed to hide the input without occupying space in the form, as shown in the attachments below.
- Hidden will hide the input from the UI, but it will still occupy space.
- Collapsed resolves the space issue so the input will not occupy any space in the UI.

Video: Step-by-step walkthrough
Step 2: Embed Your Wix Form as an iFrame
To embed your Wix Form, use an <iframe> tag on your site.
Basic iFrame Example
<iframe
  src="https://hamzaanwar5563.wixsite.com/my-site-1"
  width="100%"
  height="600"
  frameborder="0">
</iframe>
This is the standard way to embed a Wix Form.
Enable Attry Tracking
To allow our script to track this iFrame, add the attribute data-attry-iframe to your <iframe> tag:
<iframe
  src="https://hamzaanwar5563.wixsite.com/my-site-1"
  data-attry-iframe
  width="100%"
  height="600"
  frameborder="0">
</iframe>
The data-attry-iframe attribute signals our script to automatically populate and track form data inside the embedded iFrame.
Step 3: Connecting Wix Form to a CRM
You can connect Wix Forms to collections (CMS) and CRMs using Wix Automations, webhooks, or third-party tools. A common approach is to save form data into a Wix Collection and sync it with your CRM via an automation or integration.
Step 4: Add Attry Code To Your Site
How To Add Code To Your Site
Option 1: Using the WP Admin (no code editor)
- Log into WordPress Admin.
- Go to Appearance → Theme File Editor (or Appearance → Editor if block theme).
- Open
header.php. - Paste the Attry script before the closing
</head>tag. - Save changes.
Important
The Attry code shown below is an example only. Your unique snippet must be copied from your Attry Dashboard and added to your site. Do not use the example script verbatim.
Example <head> block
<head>
  <!-- Attry Main Script -->
  <script src="https://cdn.attry.app/cdn/snippet/v1.js"></script>

  <!-- Attry iFrame Adapter -->
  <script src="https://cdn.attry.app/cdn/adapters/iframe-prefill/v1.js"></script>

  <!-- Configure Attry -->
  <script>
    window.Attry.setConfig({
      debug: true, // set to false in production
      iframeTagging: {
        enabled: true,
        paramMap: {
          channel: "channel",
          channeldrilldown1: "channeldrilldown1",
          channeldrilldown2: "channeldrilldown2",
          channeldrilldown3: "channeldrilldown3",
          channeldrilldown4: "channeldrilldown4",
          landing_page: "landing_page",
          landing_page_group: "landing_page_group"
        },
        preserveExisting: false
      }
    });
  </script>
</head>